Once more unto the breach, dear friends, once more…

OK, so I have decided to start yet another ‘project’..! Aside from the ongoing restoration of my old Land Rover (see my earlier posts), I am starting the resurrection of a classic computer, notably a D.E.C. PDP-8 ‘Straight Eight’. It has spent the last twenty plus years gathering dust, mold and rust at the back of a garage owned by a late friend of mine.
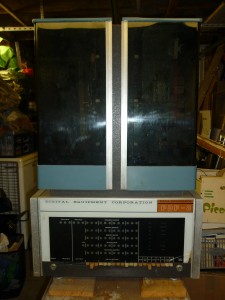
Here it is, in all its glory…

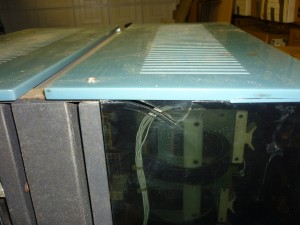
As you would probably have guessed, it isn’t in the best of conditions. The casing has several cracks and there are a few missing switches on the control panel. There is also considerable corrosion on the wiring loom and connection blocks.
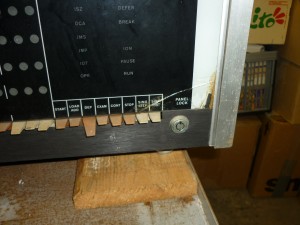
The damage to the control panel…
The damaged outer casing…

On a plus side, it is complete and I have managed to find a good collection of the original documentation. The memory core is also still tightly sealed, so hopefully that should be in good condition.
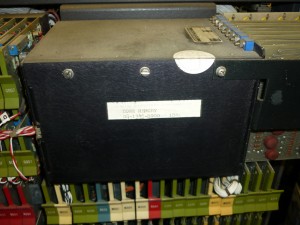
The core memory module…
A view from the top…

This will be a slow project, for several reasons:

  • I don’t want to screw it up!! They only made ~1400 of this type and I would hate for there to be one less due to my stupidity.
  • This is a learning project, how better to learn about the inner workings of a computer than by rebuilding one.
  • This particular machine has a good deal of history attached to it (see first point).
  • It belonged to a dear friend of mine and I would like to do him proud…

There will be more to follow soon, plus hopefully a little bit of the back history.
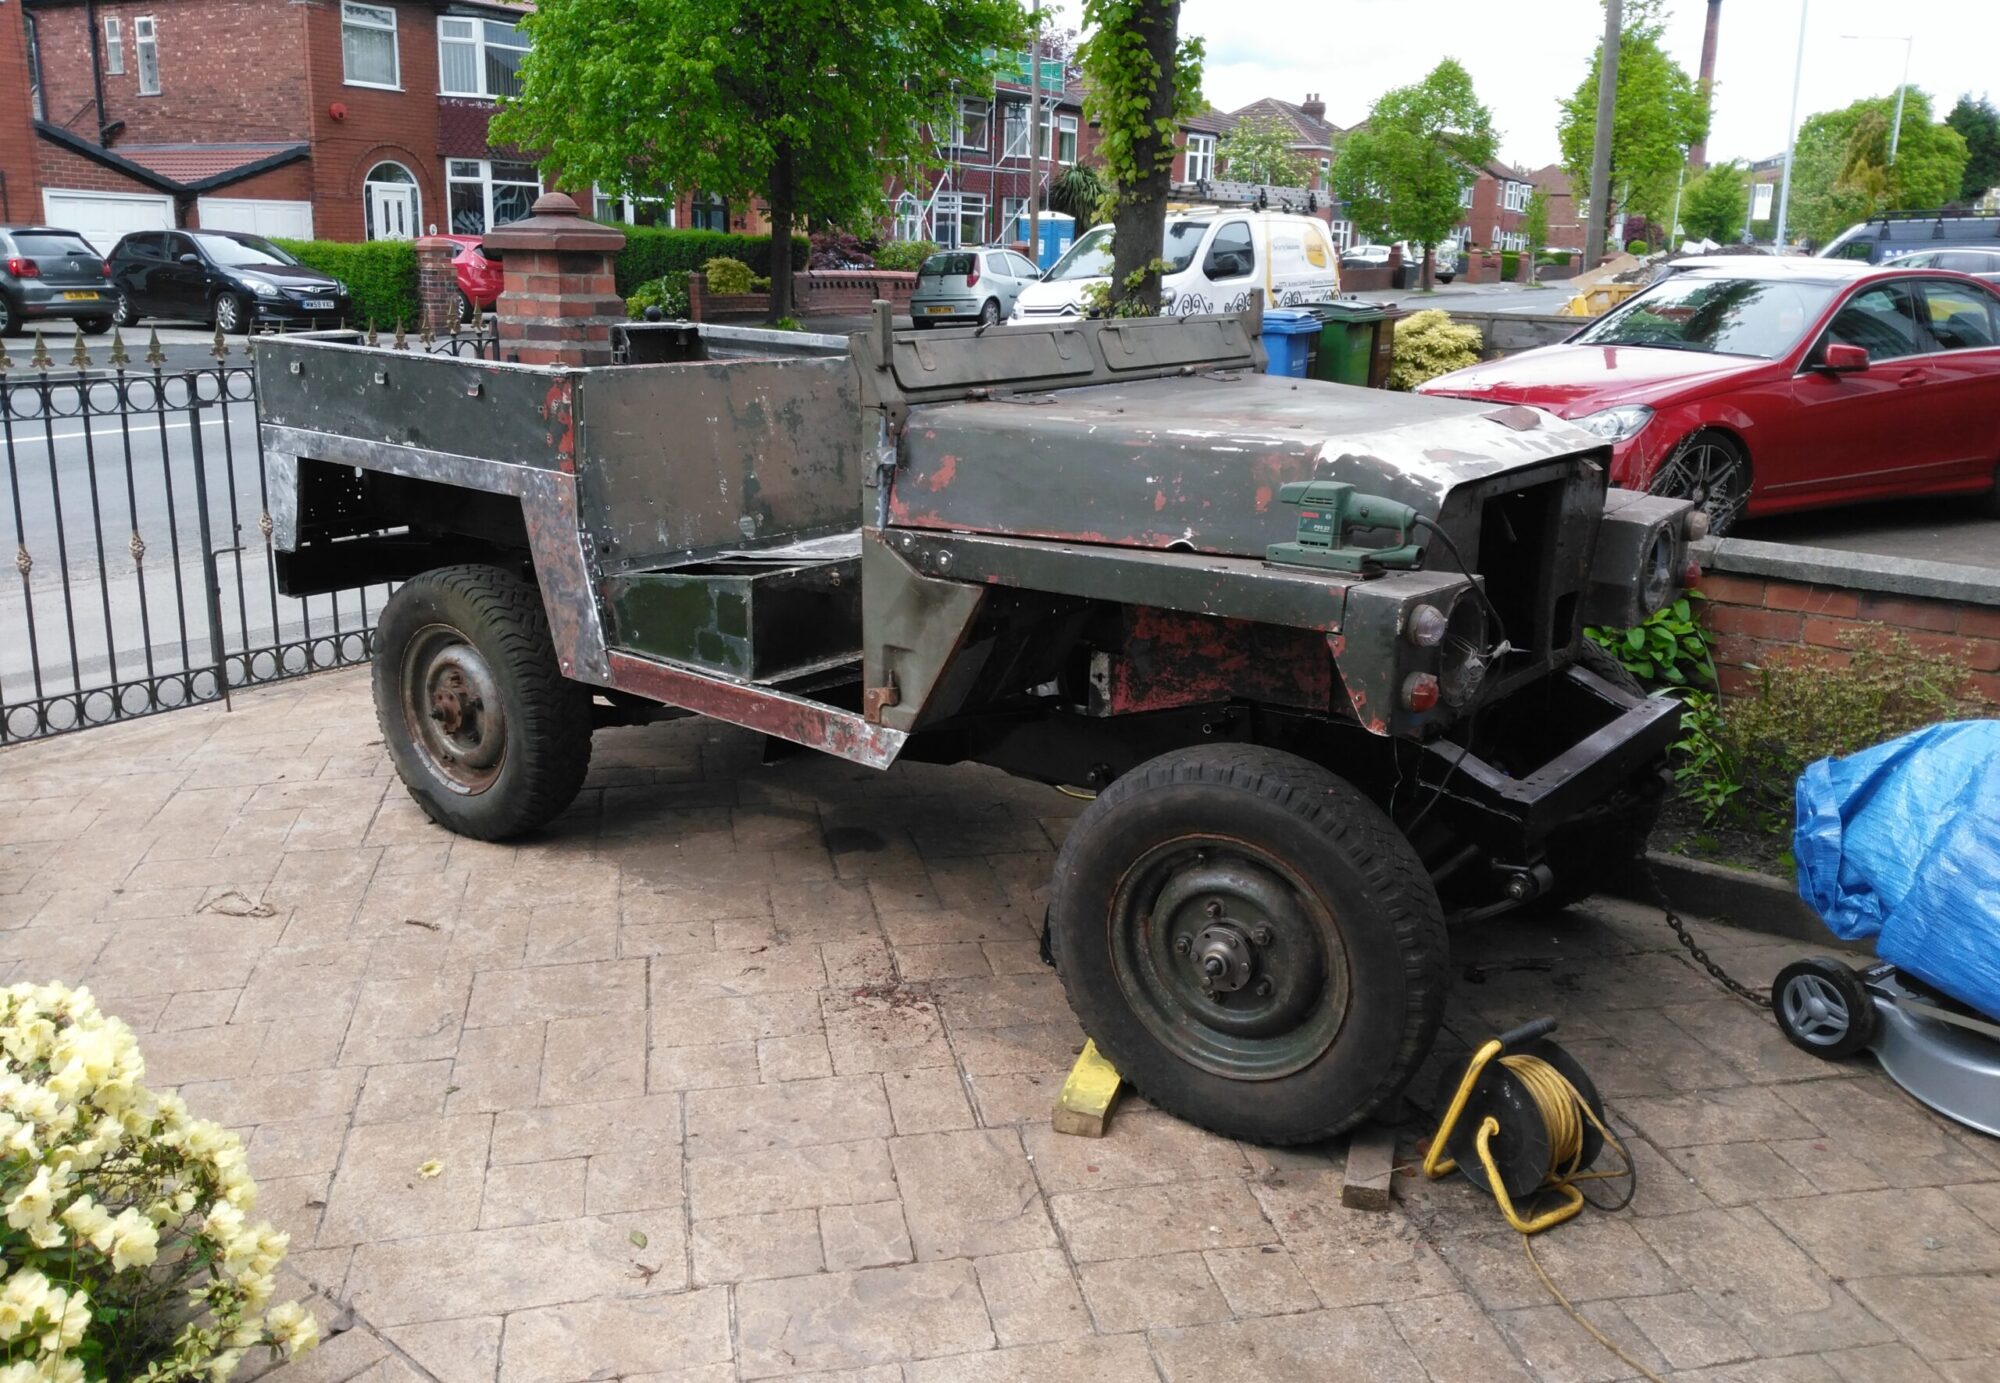
Exhausting Work..!

I’m sorry I couldn’t help it… The pun that is… Not the… Err, never mind…

As it is nearing Christmas, my spare time has been eaten into and the time available for frivolous Land Rover work has dwindled. However, I did manage to fabricate a new exhaust pipe. The original one had a few spots of rust and needed a new downpipe to connect to the diesel manifold. I am running the 200Tdi without the turbo fitted as it would have been too powerful, without it, it should provide a similar BHP to a good 2.25 petrol. I decided (as is my way) to build a new one from scratch.

A visit to my local hardware store and I had all the mild steel I needed…

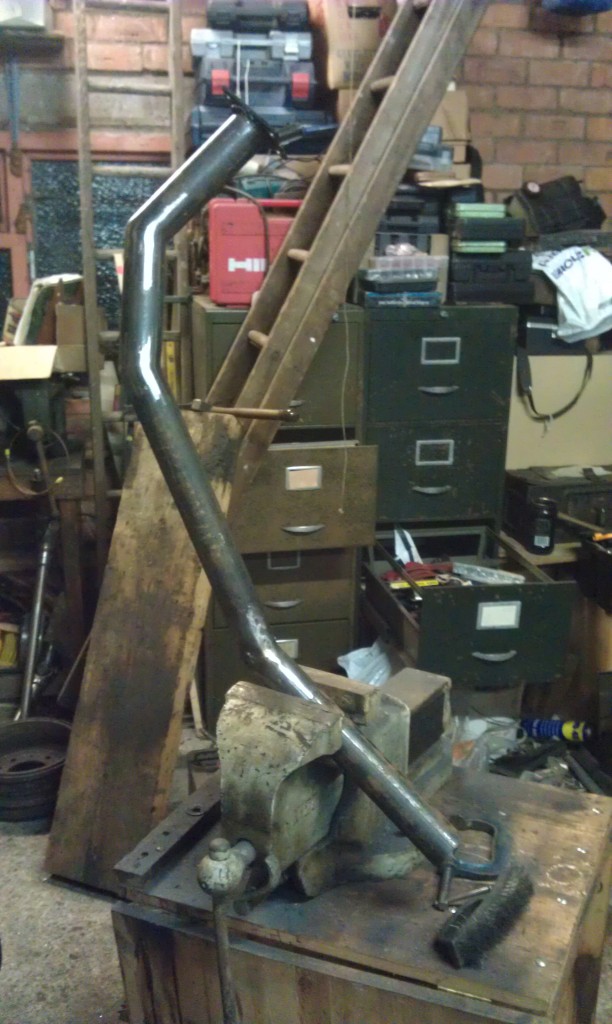
The start of the new downpipe…

I started by cutting a piece of plate steel to match the outlet on the manifold (as can be seen at the top of the picture above). Then I slowly cut and tacked into place the pipe sections, angling them out and under the chassis. One of the things I wanted from the start was a smooth finish. I have seen other similar exhausts where the cuts and joints were welded together and left. Not the best look!

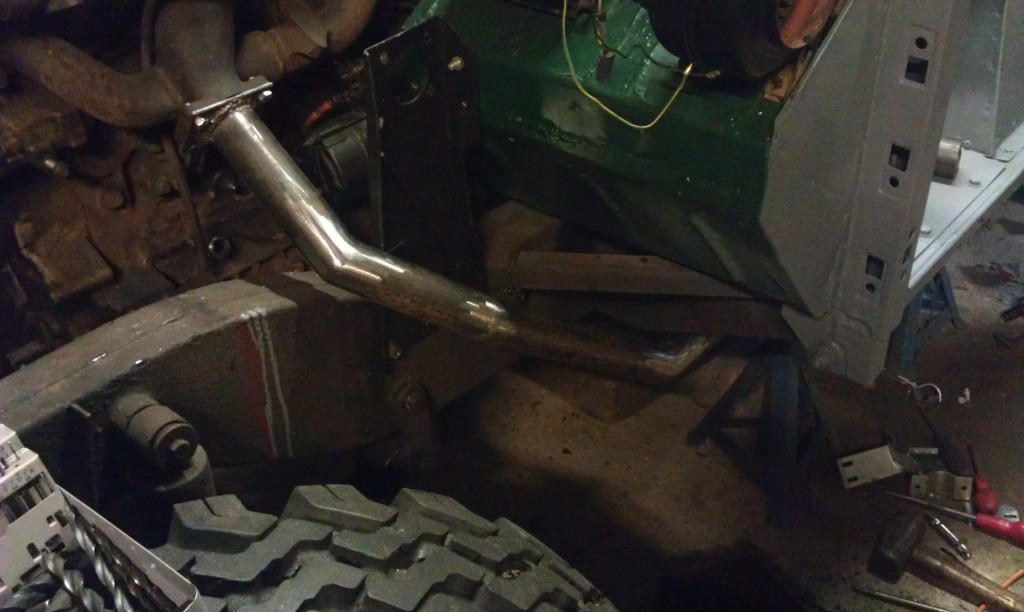
The downpipe fitted…

Once I was happy with the position and placement of the downpipe I continued back to the muffler. I made this from two pieces of box section. On the sides that met I drilled one hundred and twenty 4mm holes to allow the gas to pass through. This is almost exactly the same method used in the original muffler, it is only the external shape that has changed.

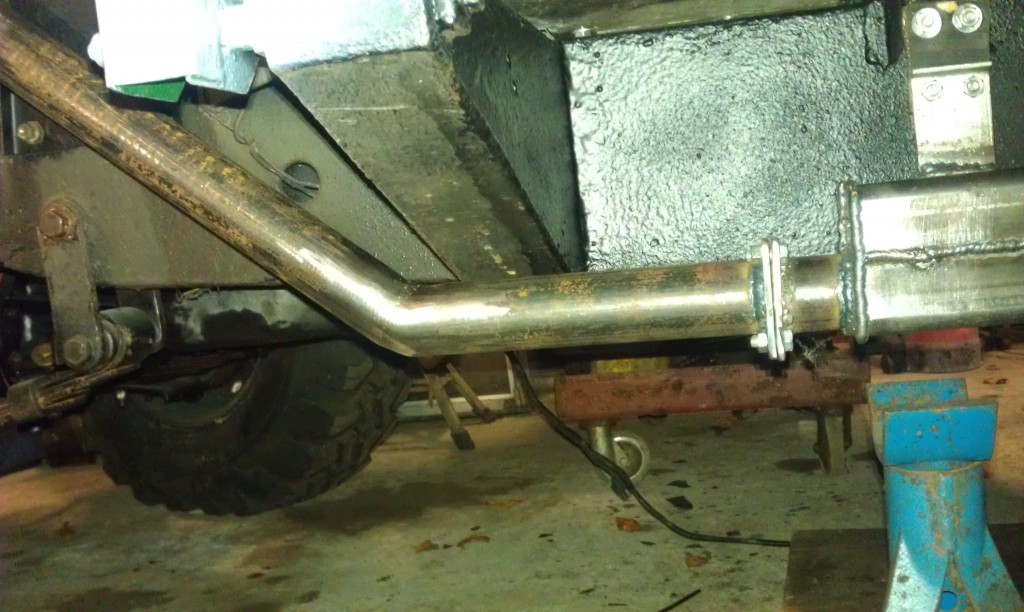
The downpipe and muffler…

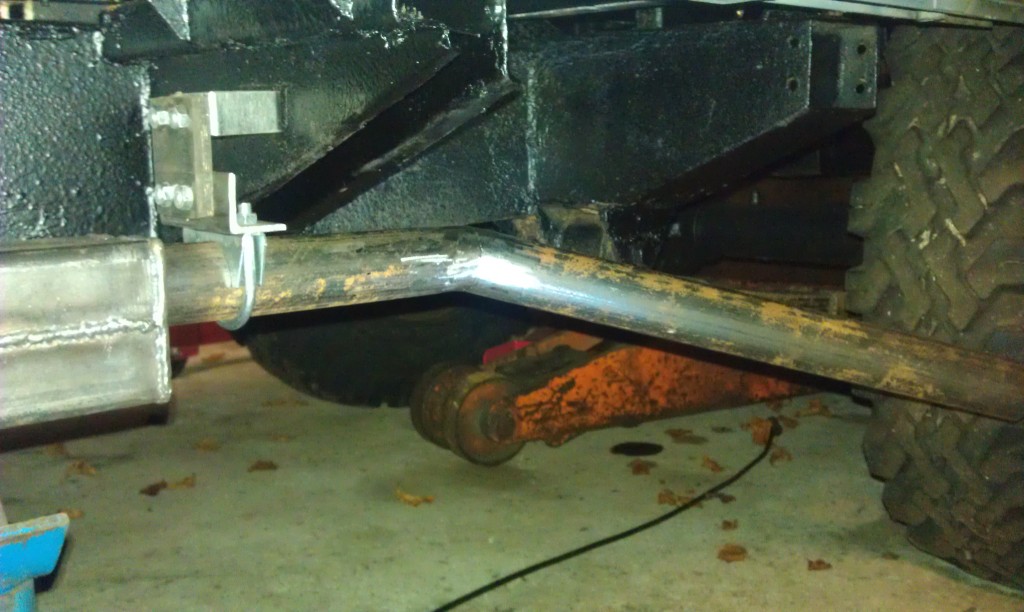
As you can see I added a joint plate to allow for easy fitting. I also used the original mounting bracket (it lined up perfectly). Because of the increased weight of the muffler I added an additional bracket to the rear. The exhaust is made from steel almost four times the thickness of the original, so it tends to weigh a ‘tad’ more.

The rear support and exit pipe…

It took about ten hours in total to make, it could have been less if I had left the surface weld on the joints. However, I am very pleased with the result. The final thing to do is spray it with high temperature ‘stove’ paint…

…meanwhile…

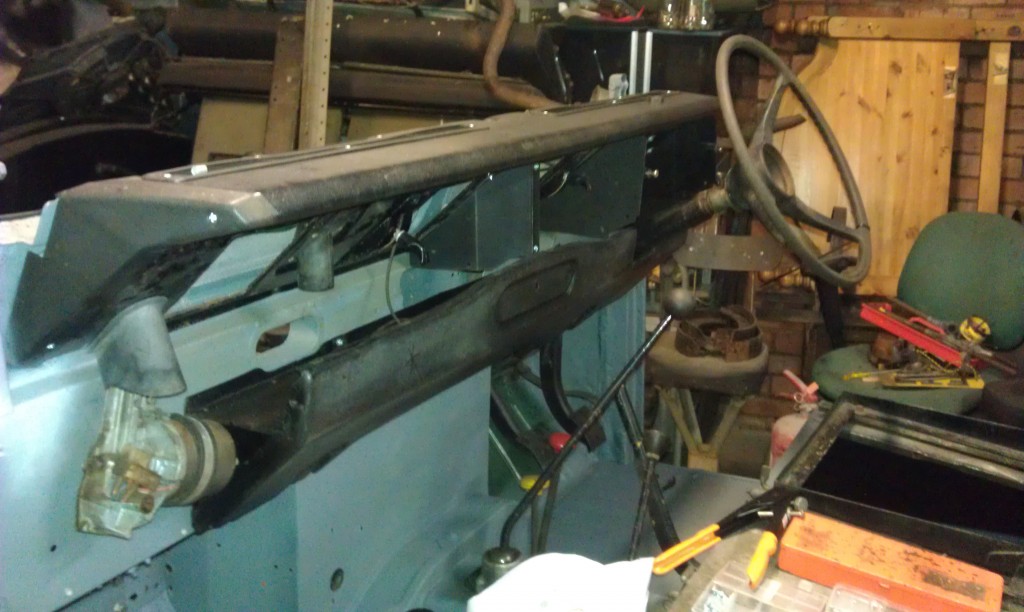
The dashboard fitted…

I have also been working on the dashboard and internal parts. It doesn’t look it, but there isn’t that much work left to do. I will not meet my original Christmas deadline, however, I feel confident that I can have it ready by the end of January…

Honest..!

After six years… Movement!!

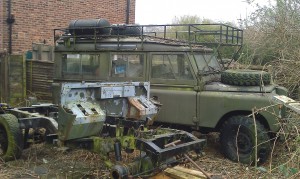
It has been over six years and my poor old landrover has been patiently waiting for someone to show it a bit of affection. That time has finally come… On Saturday (05/03/2011) I, along with my friends Dave and Jim, started the task of moving my SIII 109″ from its resting place to a new home. Years of growth had to be cut back. The brambles didn’t give upĀ  the fight easily and after three hours of blood, sweat and tears we had access.

After hours of bramble bashing contact is made...

Next came the task of trying to move the beast! There was no way in this world I was going to try starting the engine, even if it did by some miracle jump into life, I didn’t want to risk mechanical damage. As it was unable to move under its own power I was left with two options, push it (yeah good luck with that one!), or pull it out. Dave’s father had kindly offered the use of his Transit, so we hitched up a length of rope and began to pull…

Nothing, except the first tantalising whiff of burning clutch. Hmmm! A mechanical seizure had always been a concern of mine. So out came the block’n’tackle and a length of chain. If we were unable to pull it out, maybe we could drag it out. Luckily my father had (many years ago) fitted a steel gatepost and, as was his way, it had been (slightly) over engineered. You could have moored an oil tanker to it with no problem! It made the ideal anchor point for fitting the lifting gear. After several tugs it was obvious that three of the wheels were rotating freely, one however was locked solid. However, after a little bit of swearing and a few more tugs there was a sudden ‘clunk!’ sound and the rear wheel started to turn. I suspect it was a spot of rust between the brake shoe and drum. I hope that’s all it was! I won’t know until I strip it down.

This sudden freedom of movement allowed us to try the Transit again and other than a little bit of 3-point turning (again, all by hand) we had the lanny on the driveway…

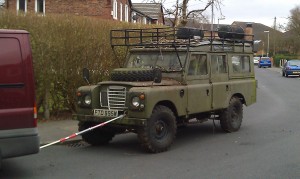
Out of the jungle and onto the open road...

Part 2 – The open road

It was such a relief to see it parked on the road. So many things could have conspired to prevent us getting to this point. It was now a (simple) job of towing the lanny to its new home. And it really was simple! Other than a slight metallic rattle from the gearbox it couldn’t have gone smoother…

The only other bit of hard work was pushing it up the drive and into the garage. Dave volunteered to drive, Jim and I pushed. Five minutes and the job was a good’n!

Now starts the hard part, the strip, clean and assemble…