I’m sorry I couldn’t help it… The pun that is… Not the… Err, never mind…
As it is nearing Christmas, my spare time has been eaten into and the time available for frivolous Land Rover work has dwindled. However, I did manage to fabricate a new exhaust pipe. The original one had a few spots of rust and needed a new downpipe to connect to the diesel manifold. I am running the 200Tdi without the turbo fitted as it would have been too powerful, without it, it should provide a similar BHP to a good 2.25 petrol. I decided (as is my way) to build a new one from scratch.
A visit to my local hardware store and I had all the mild steel I needed…
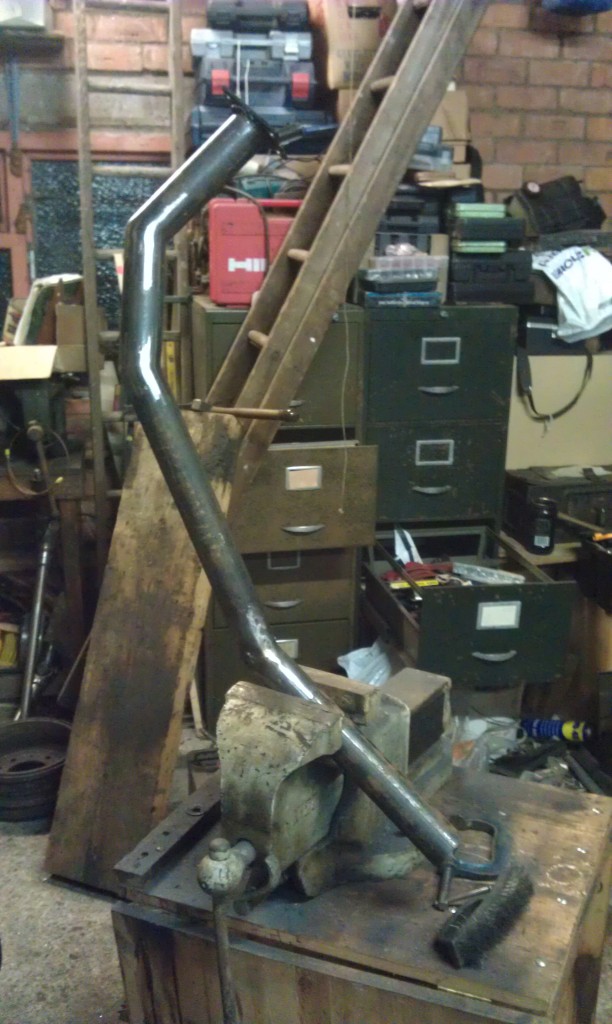
I started by cutting a piece of plate steel to match the outlet on the manifold (as can be seen at the top of the picture above). Then I slowly cut and tacked into place the pipe sections, angling them out and under the chassis. One of the things I wanted from the start was a smooth finish. I have seen other similar exhausts where the cuts and joints were welded together and left. Not the best look!
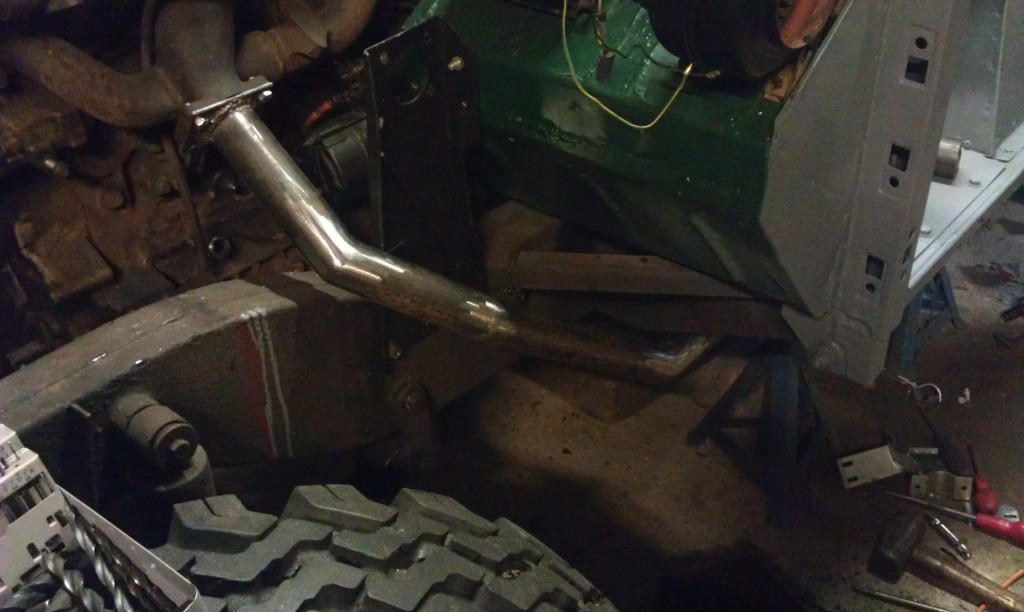
Once I was happy with the position and placement of the downpipe I continued back to the muffler. I made this from two pieces of box section. On the sides that met I drilled one hundred and twenty 4mm holes to allow the gas to pass through. This is almost exactly the same method used in the original muffler, it is only the external shape that has changed.
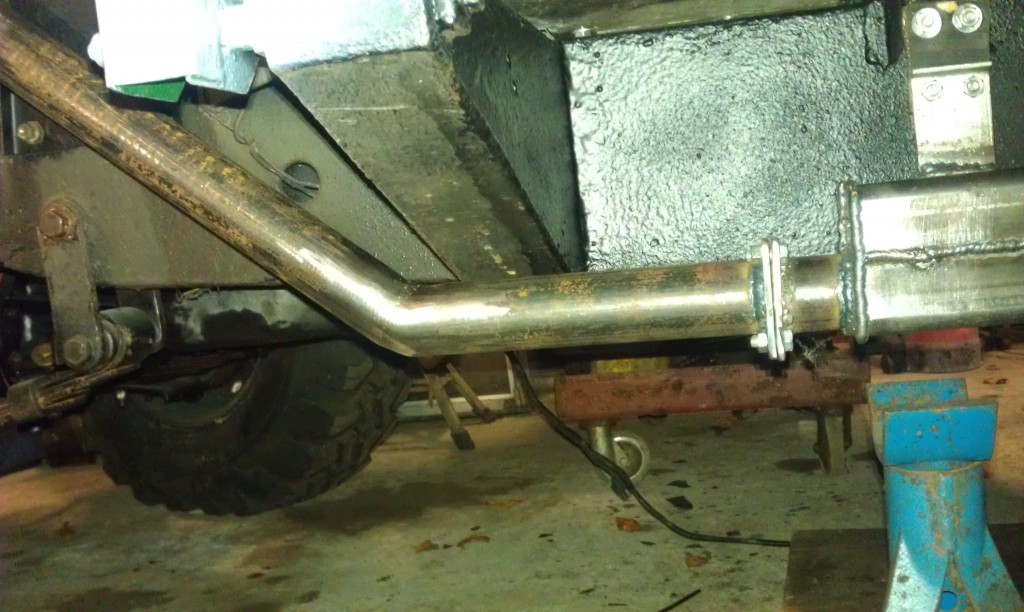
As you can see I added a joint plate to allow for easy fitting. I also used the original mounting bracket (it lined up perfectly). Because of the increased weight of the muffler I added an additional bracket to the rear. The exhaust is made from steel almost four times the thickness of the original, so it tends to weigh a ‘tad’ more.
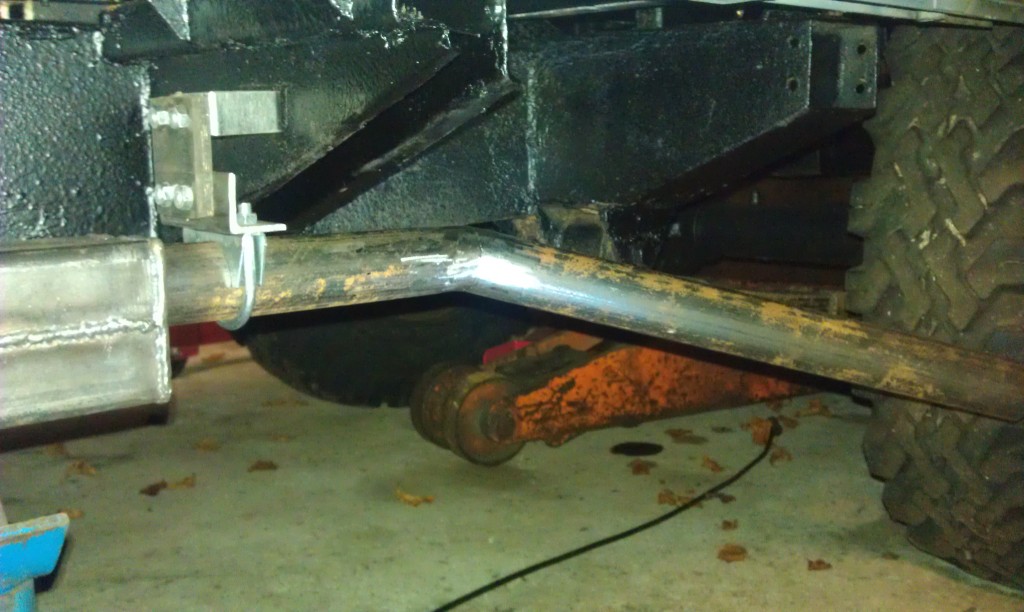
It took about ten hours in total to make, it could have been less if I had left the surface weld on the joints. However, I am very pleased with the result. The final thing to do is spray it with high temperature ‘stove’ paint…
…meanwhile…
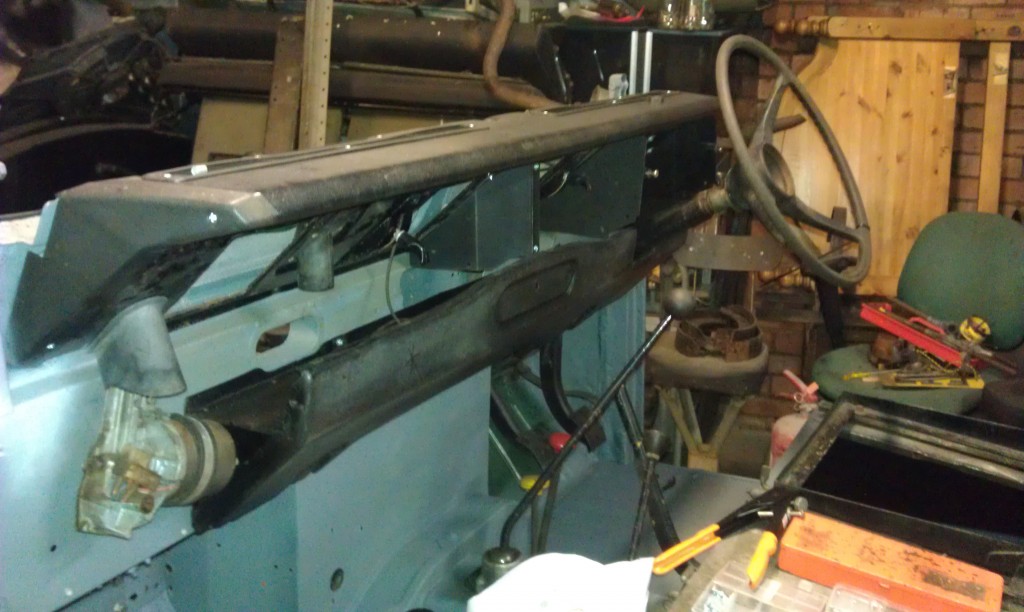
I have also been working on the dashboard and internal parts. It doesn’t look it, but there isn’t that much work left to do. I will not meet my original Christmas deadline, however, I feel confident that I can have it ready by the end of January…
Honest..!

